Create your first report
Create your first report
Select Create a synced report on the ready screen and the wizard opens. It has three steps, shown at the top: Choose data, Columns, Create. This page is step one, where you decide what to import.
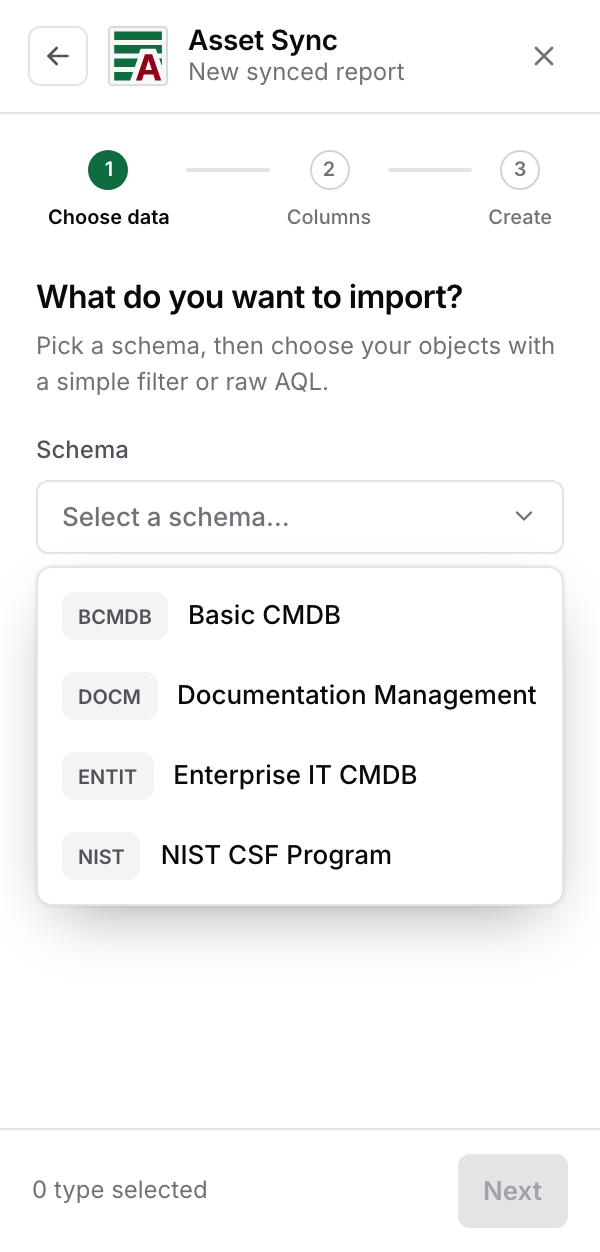
Pick a schema
Every report reads from exactly one schema. Open the Schema dropdown and pick the one you want; the picker shows each schema's key and, once picked, how many object types it holds.
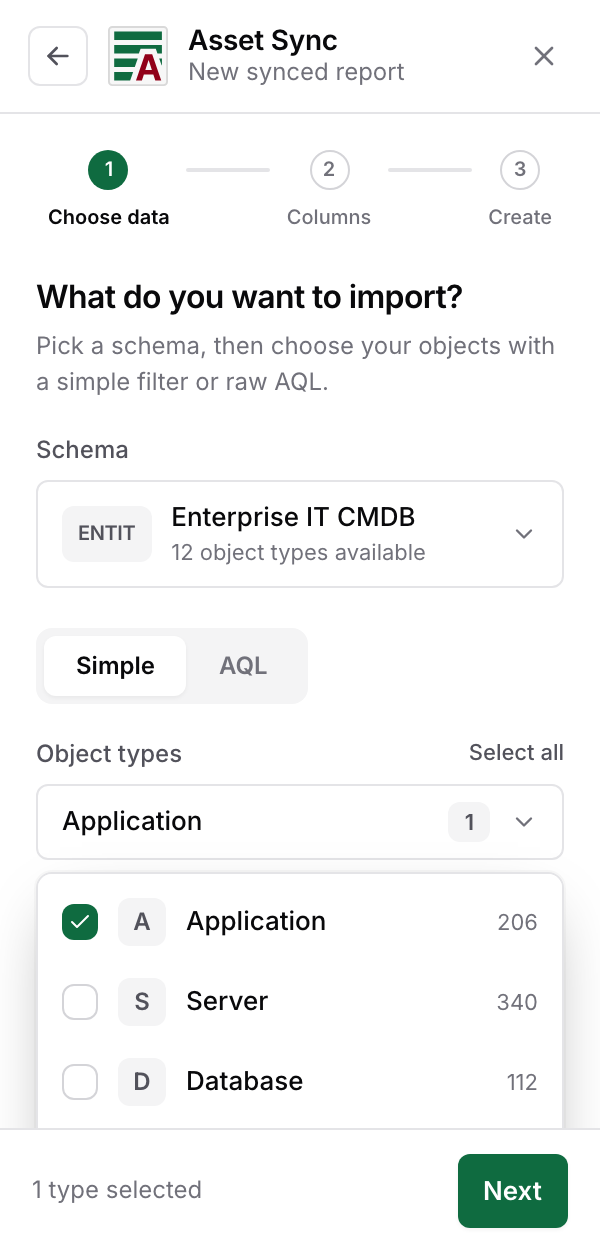
Pick your object types
With a schema chosen, the Simple filter is active by default. Open the Object types dropdown and tick the types you want in the report; the first type is ticked for you as a starting point. Select all above the dropdown grabs the whole schema at once. You can mix as many types as you like in one report; step three lets you decide whether they share a tab or get one each.
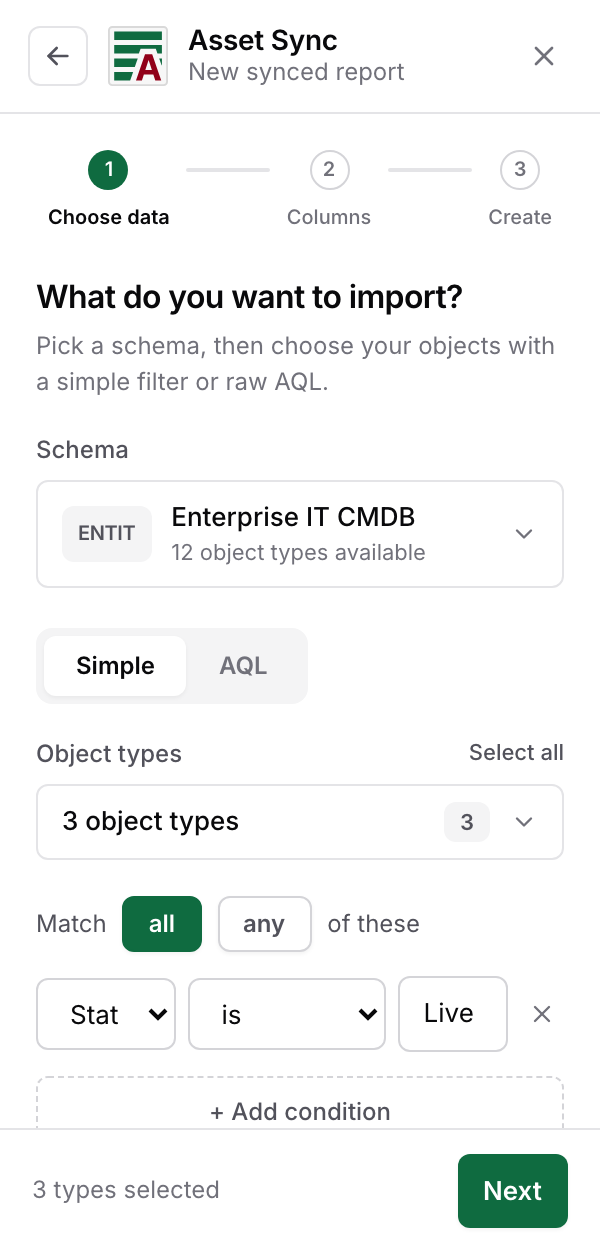
Narrow it down, if you want to
Below the types sit the filter conditions. Each condition is an attribute, an operator (is, is not, contains, greater, less), and a value, and the Match all / any toggle decides whether an object must pass every condition or just one. Add as many as you need with + Add condition. A condition with an empty value is ignored, so the default empty row costs you nothing: leave it blank and you get every object of the selected types.
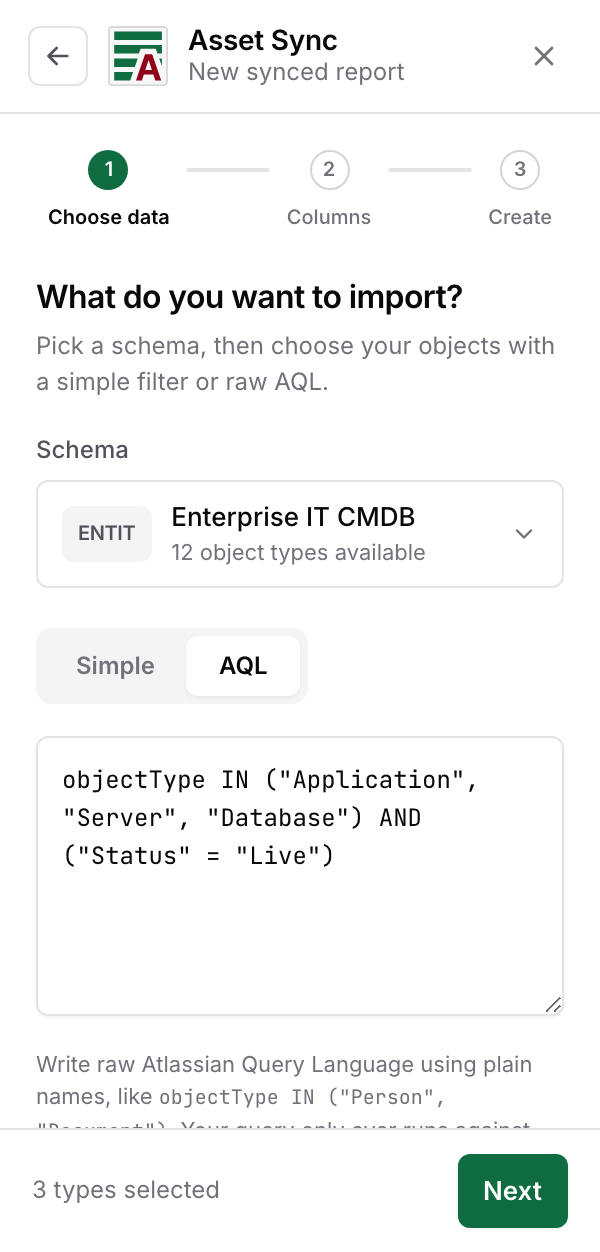
Or write AQL instead
If you already think in Atlassian Query Language, switch the toggle to AQL. The editor arrives pre-filled with the query for your current type selection, written with plain type names, and you can edit it freely or replace it entirely.
One guardrail worth knowing: your query only ever runs against the schema you picked. The server scopes every query to that schema, so a name like "Person" cannot drag in objects from somewhere else, and you never need schema ids in your AQL.
If you would rather watch than read, this walkthrough covers AQL mode and the opt-in API fields end to end.
Where to next
Select Next. Step two is where the columns are chosen: Choose your columns.
Google Sheets™ is a trademark of Google LLC.