What you are about to install
What you are about to install
In this guide you will create a fully functioning service desk connected to Assets. By the end, you will be able to submit a customer request, select a service or system from your deployed service model, and have that request automatically linked to ownership and responsibility.
This is the point where Jira Service Management stops being a ticket inbox and starts behaving like a real service desk.
You do not need to understand CMDB theory to complete this guide. Just follow the steps in order.
Step 1: create a service space
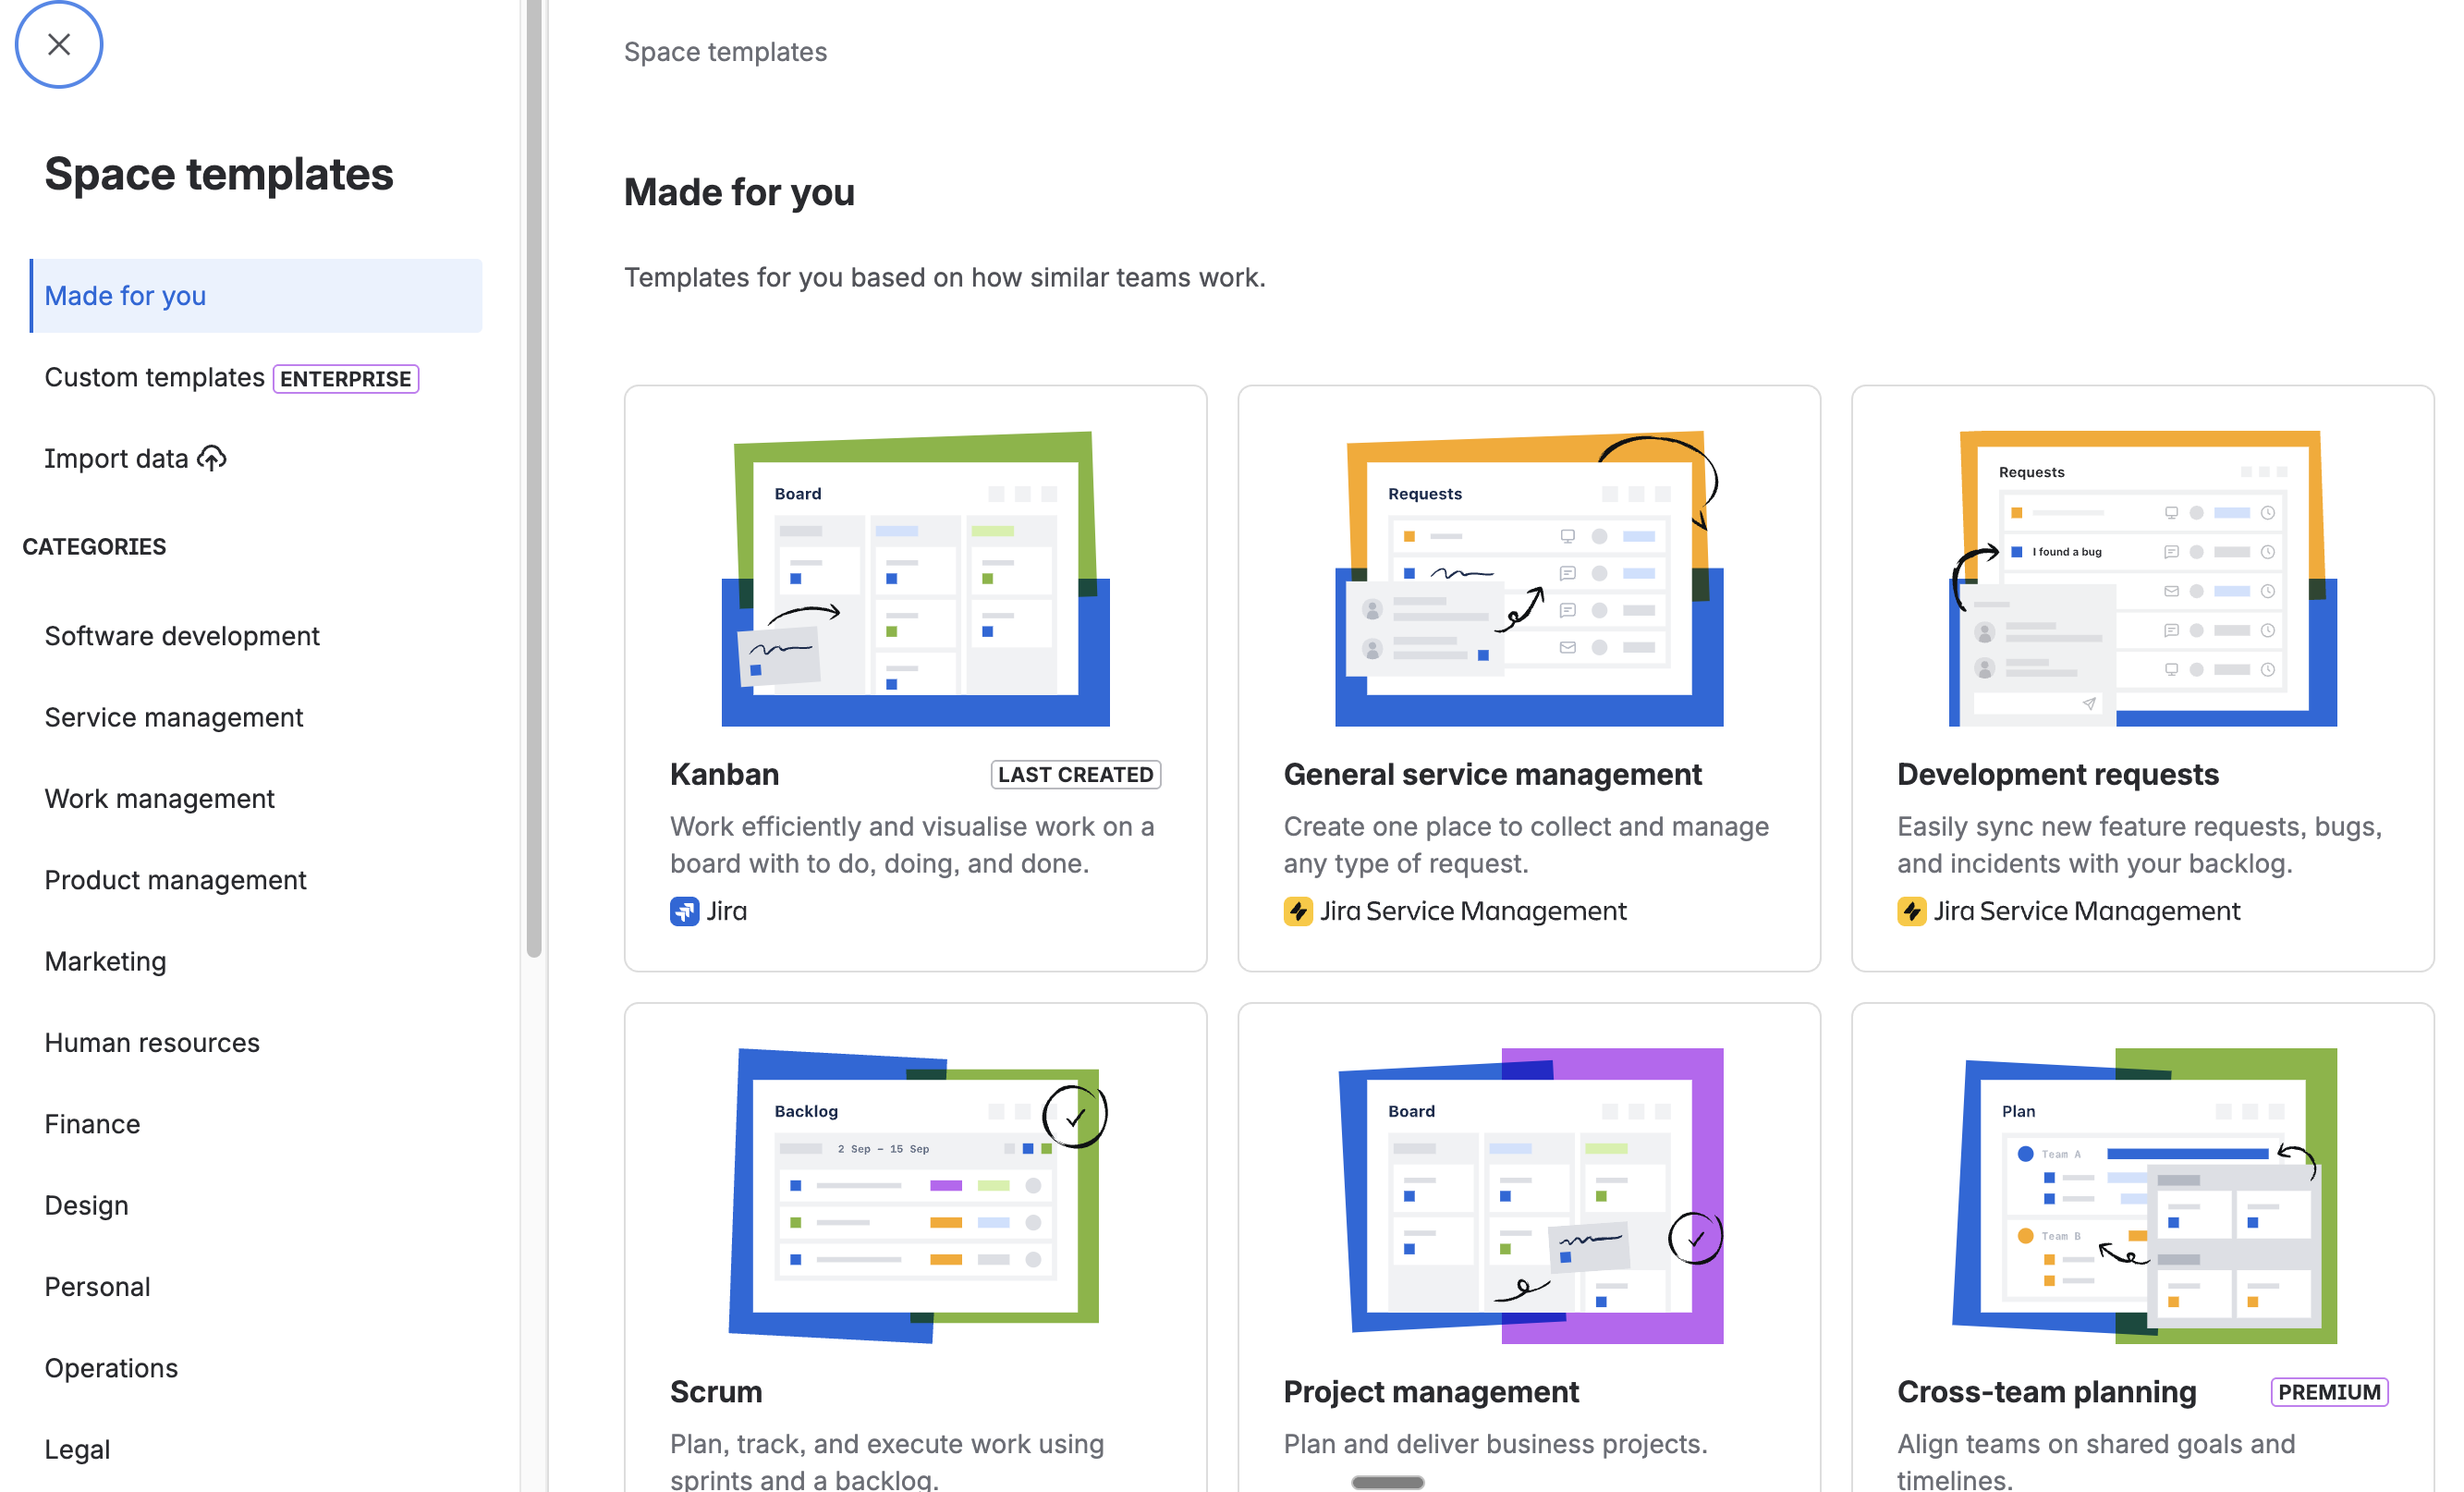
Start by creating a new Jira Service Management space. Choose the IT Service Management template. Do not spend time customising it yet; the defaults are fine for now. You need a working space to connect your service model to.
If you already have a service space you want to use, that works too. The important thing is having a space where requests can be submitted.
Step 2: add an assets field to a request type
Open Space settings → Request types and select any request type (for example, "Get help" or "Report a problem"). Add a new field and choose Assets object.
Name the field something your customers will understand: Affected service or System both work well. Avoid technical names like "Configuration Item" unless your users are ITSM practitioners.
Step 3: connect the field to your service model
When configuring the Assets field, you need to tell it which object type to display. Select the object type that represents services or applications in your deployed service model. For most users, this will be Application (or Service if you deployed the Service Catalogue model).
This is the connection point. The field now pulls real data from your service model and presents it to customers when they raise a request.
Start with a single object type in the field. You can expand it later to include multiple types, but starting lean means you can verify the integration is working before adding complexity.
Step 4: test a real request
Open the portal and submit a request. When you reach the Assets field, you should see selectable objects from your service model. Pick one and submit the request.
Now open the resulting work item from the agent side. You should see the linked Assets object, its details panel, and any relationships defined in the service model. If you can click through from the ticket to the object and see its attributes and connections, the integration is working.
If the field shows no objects: this usually means either no objects have been created in that object type yet (create one test record in Assets) or the field filter is not pointing at the correct object schema. See Troubleshooting Installation for detailed fixes.
You now have a working service desk
At this point you have achieved the main objective: a service desk where requests are connected to structured service data, with visible ownership and relationships.
Many organisations never reach this stage when configuring Jira manually. The combination of a deployed service model and a connected service space gives you something that typically takes weeks of design work to build from scratch.
Resist the temptation to immediately start adding custom fields or new object types. The service model you deployed is designed to work as-is, and you can extend it later with Expand a Service Model once you know what you need. Understanding what has been created for you is more valuable than customising it right away.